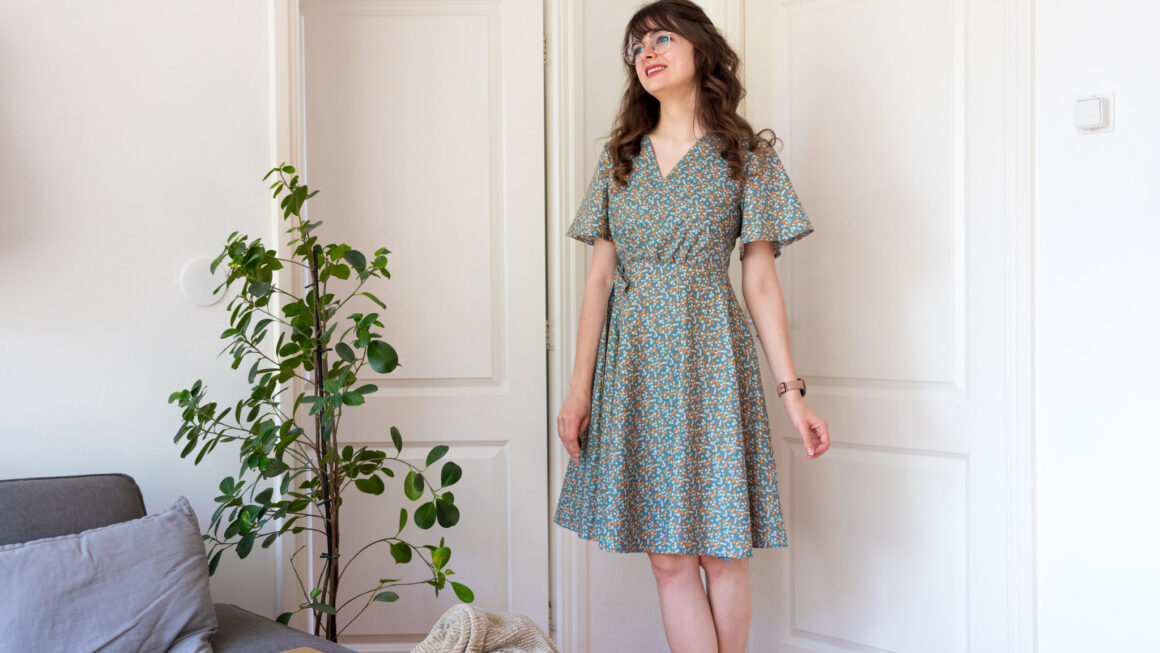
The Pippa Wrap Dress by Designer Stitch is one of my favourite patterns, and easily one of the best I’ve ever used. It was one of my first ventures into the world of indie patterns, and I couldn’t have chosen a better one to start this journey with. The Pippa dress is a lovely, simple, vintage-style wrap dress with elegant butterfly sleeves, that can be used over and over again with different fabrics and prints to create a plethora of versatile looks. Let me tell you just why I adore it so much.
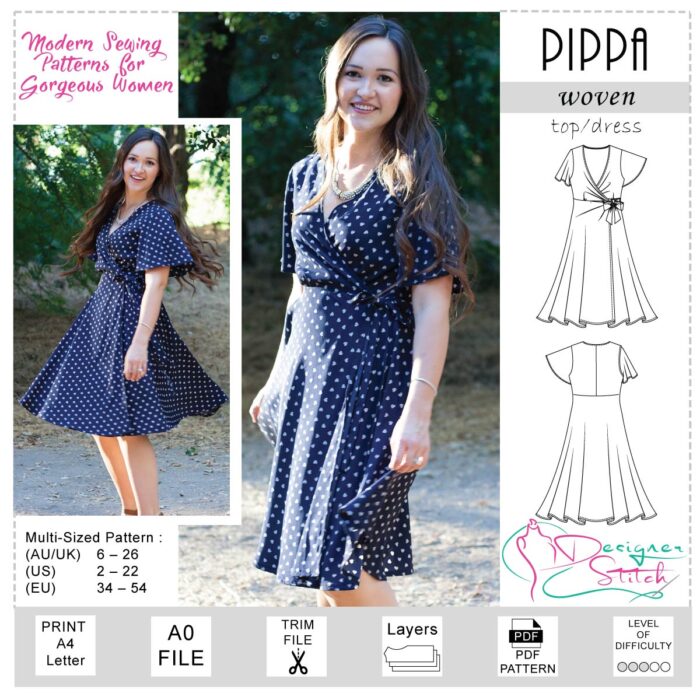
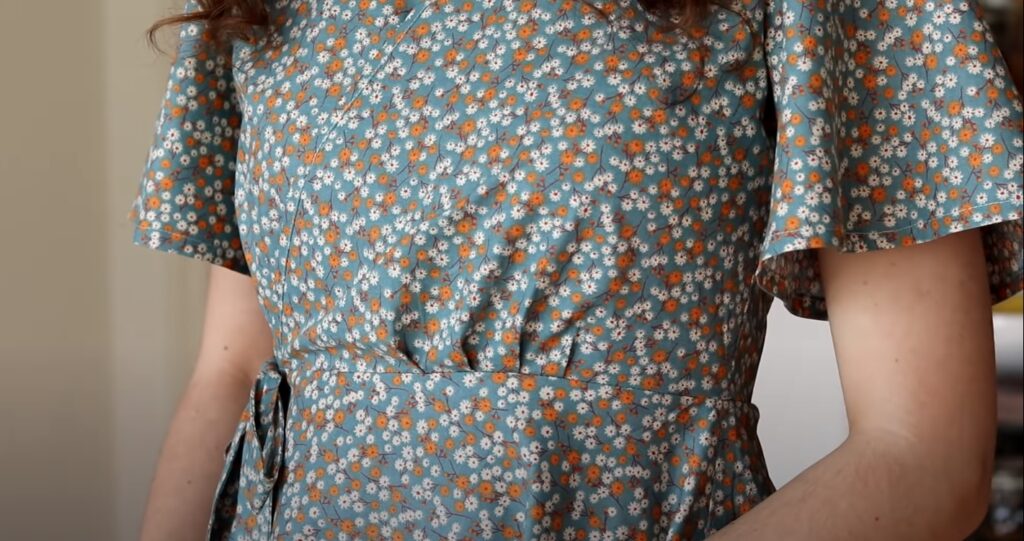
The Pippa wrap dress comes in three different lengths – tea length, midi (knee) length, and peplum length, the last of which will result in a lovely wrap top. There are two options for the sleeve length as well: a shorter and a longer one. I made the midi length with longer sleeves.
My Experience
Let me start off by saying I ADORE this pattern. Beginning with the printing of the pattern itself; the PDF is made up of layers so you can select and print only the size you need. Then, as you get started, the instructions are incredibly thorough and detailed. They walk you through the pattern printing and assembly process, exactly how much fabric you need for each type of garment, pattern placement, all the symbols on the pattern… And then every single step you need to take to go from fabric to completed dress.
The pattern is marked as intermediate level since it requires some techniques such as setting in a sleeve and doing a double-fold self bias, but the instructions are clear enough that I would feel confident tackling this one as a beginner, too. I love how they keep reminding you to press your seams. I need that, haha!
Since this is a simple pattern with only a few seams, I decided to do French seams all around for clean finishes on the inside of the garment. The seam allowance is wide enough to allow for that. Or any other seam finish you might prefer, of course.
This dress was very quick to sew- it only took me two days to make from start to finish, and if I hadn’t been filming the process I’m sure I could’ve done it in one.
The Results
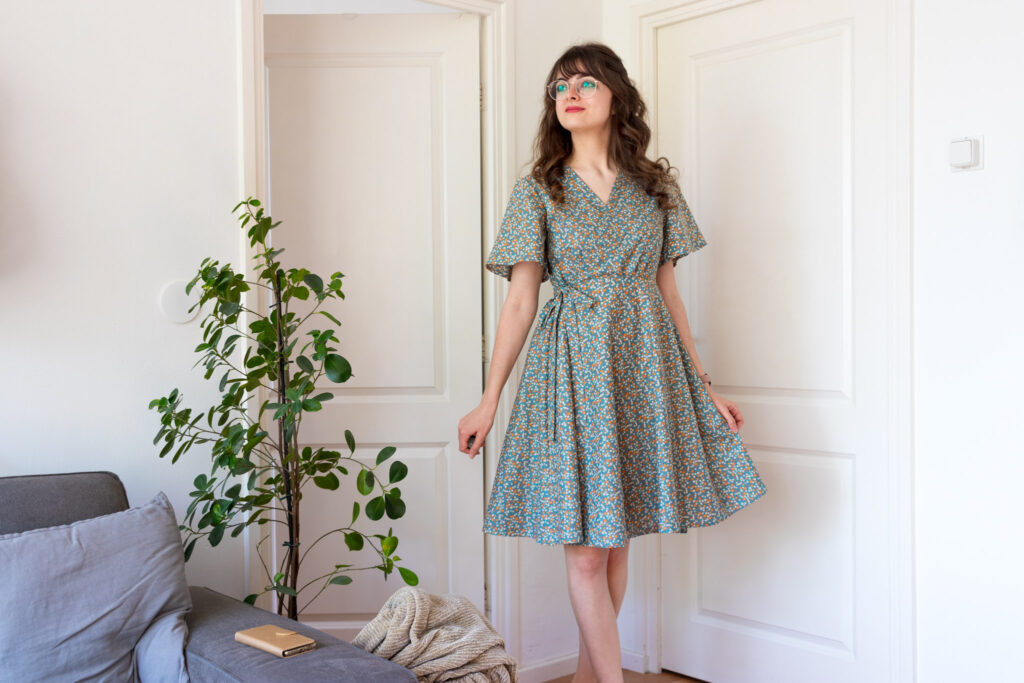
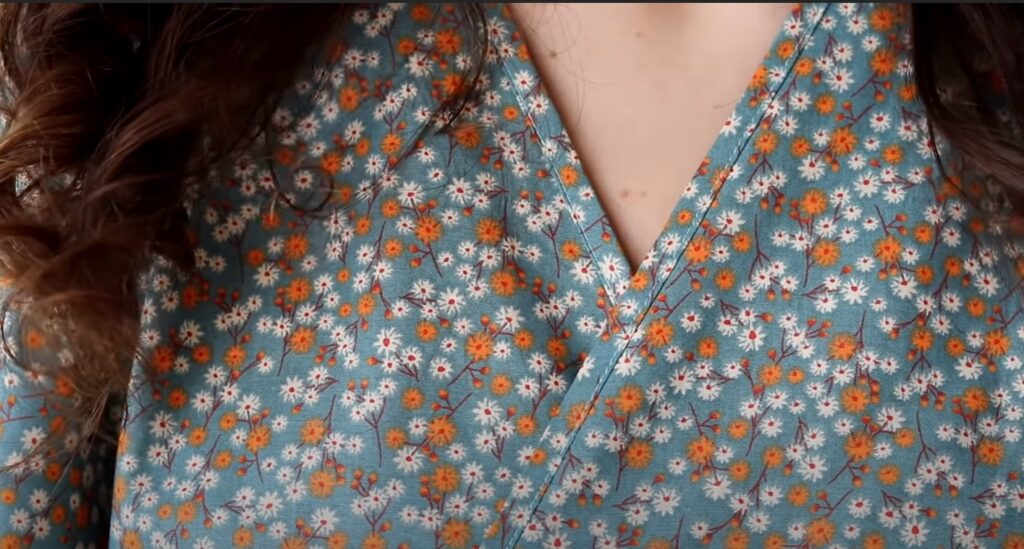
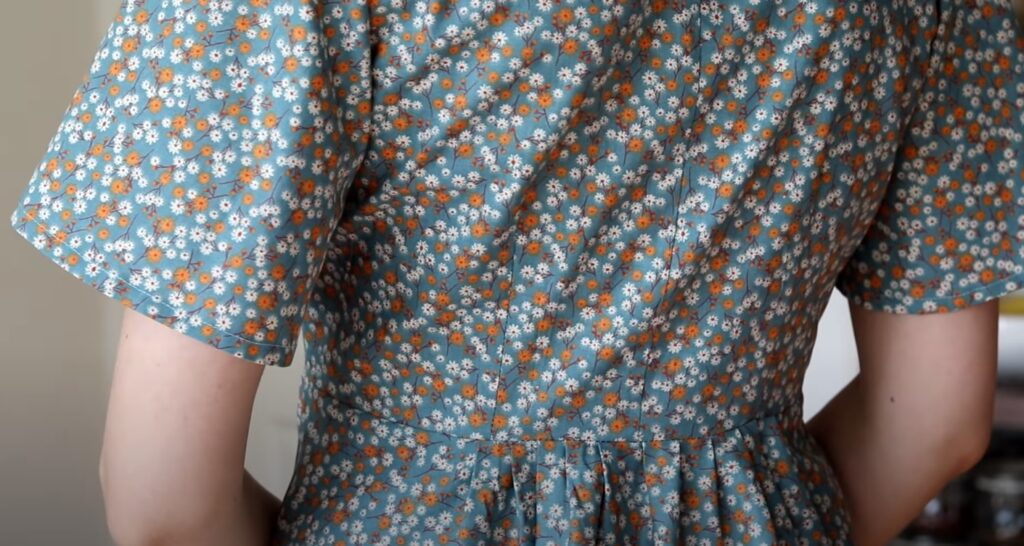
For my Pippa wrap dress I used a lovely light printed cotton fabric I had in my stash. I only had 2m of it, and was determined to make this dress out of it even though according to the pattern, the dress requires 4m. Well, it was a tight squeeze, but I did it! That did force me to make the shorter skirt length though, rather than the tea length which I initially preferred and planned to use. In hindsight I do think the shorter length looks lovely, and very fitting for summer. I don’t mind it at all.
On the topic of tight squeezes: I tried to skimp out on printing all of the pattern pieces by using the front skirt pattern for the back as well. I placed the pattern on the fold, and when I cut it out, it was… gigantic. So, good to know: even though the front and back skirt pieces look identical in the diagram, they decidedly are not, haha! To eat up the extra width this left me with, I decided to replicate the pleat pattern that is found at the bust along the back of the skirt. This resulted in extra fullness in the back and an almost Edwardian-type skirt shape, which I actually adore. There are no mistakes here, just happy accidents.
I definitely plan to use this pattern again and make myself another beautiful wrap dress. Perhaps next time I could go for a flowier fabric, and the longer skirt length for a more ethereal look.
If you’d like to watch me make this dress, the Sew With Me video is right below:

