Today I want to share my tips on how you can apply the perfect eyeshadow look every time, with any palette. It’s a basic look that will work with any eye shape and any eyeshadow colour.
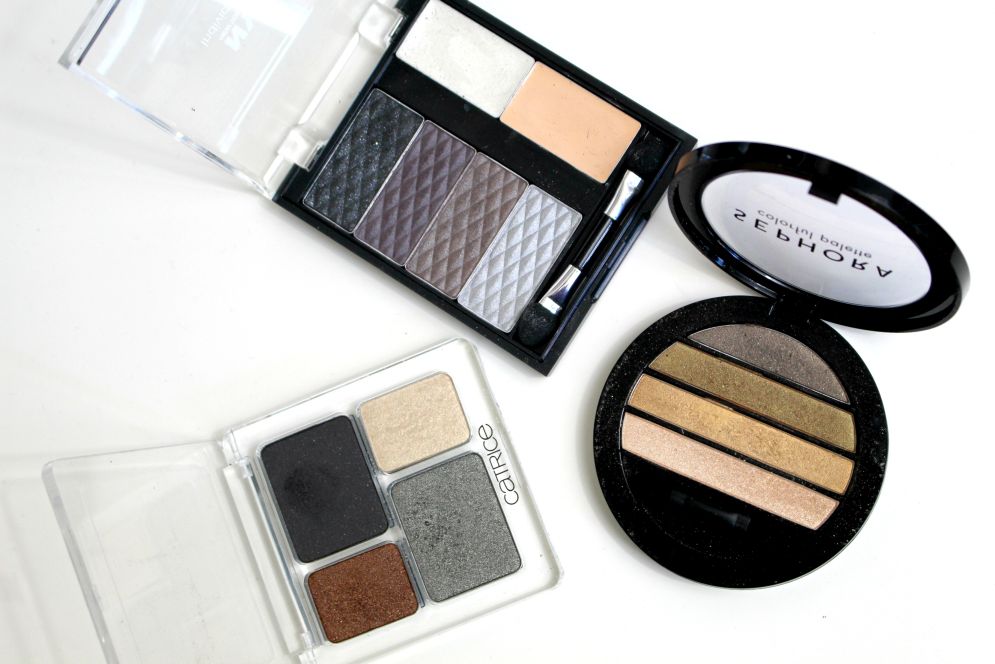
When you’re just starting out with using makeup, it’s a good idea to buy an eyeshadow quad. It will provide you with four colours, that you can mix and match to create different looks. Most eyeshadow quads contain four hues of one colour, those are easiest to work with.
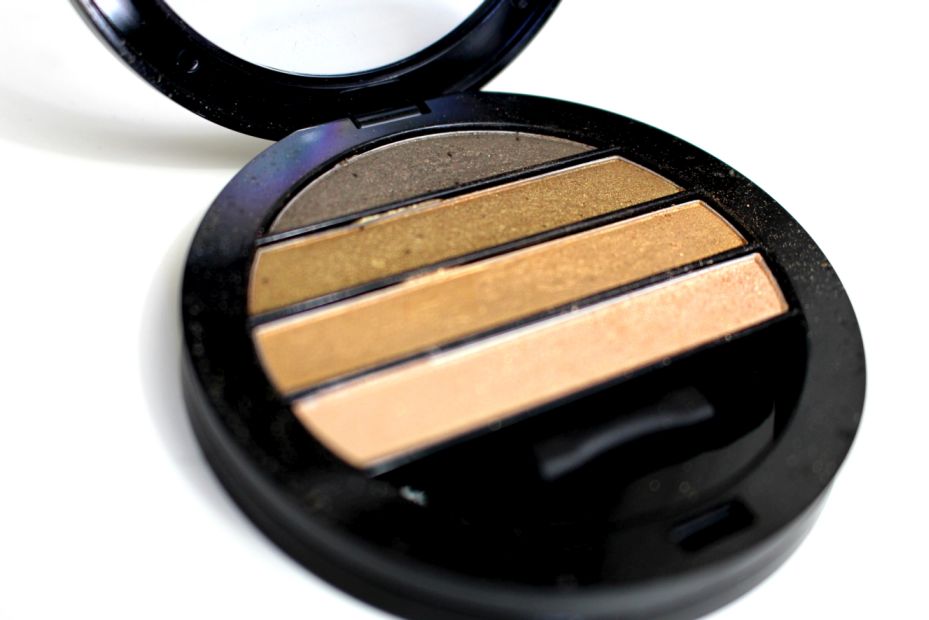
Today I’m using this quad from Sephora. Don’t buy it, the colour payoff sucks, but this one comes closest to the “four hues of one colour” type palette and will serve today’s purpose best.
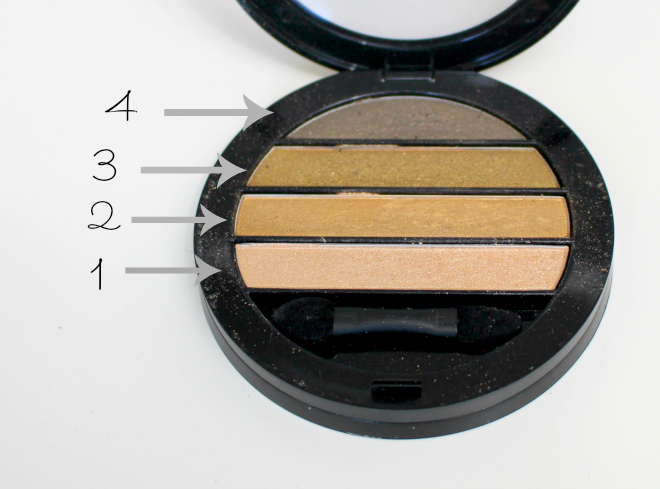
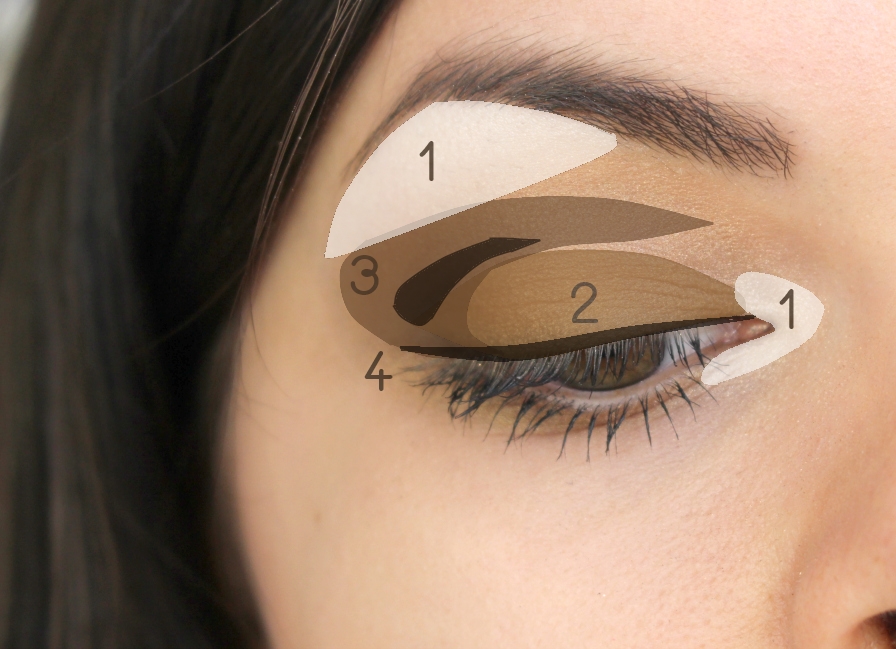
Let’s name the colours 1 through 4, 1 being the lightest and 4 being the darkest one.
I’m going to show you where to place each colour on the eye to create the perfect look.
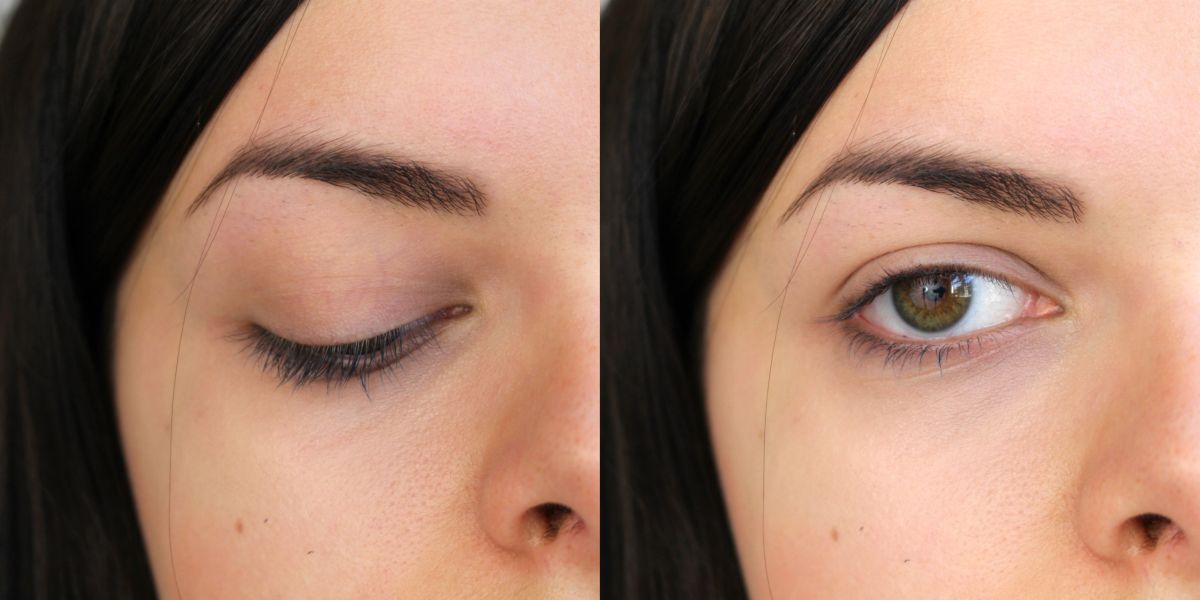
I started out with eyeshadow primer. A primer will make your eyeshadow adhere better to your skin, resulting in longer wear and more vibrant colours. I use Urban Decay Primer Potion.
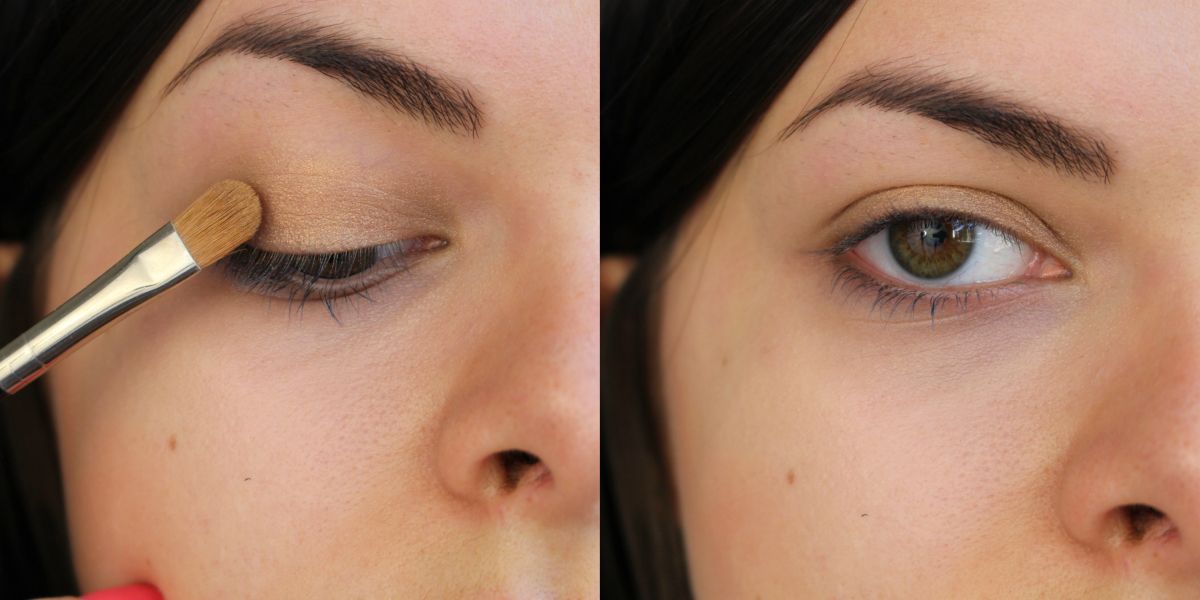
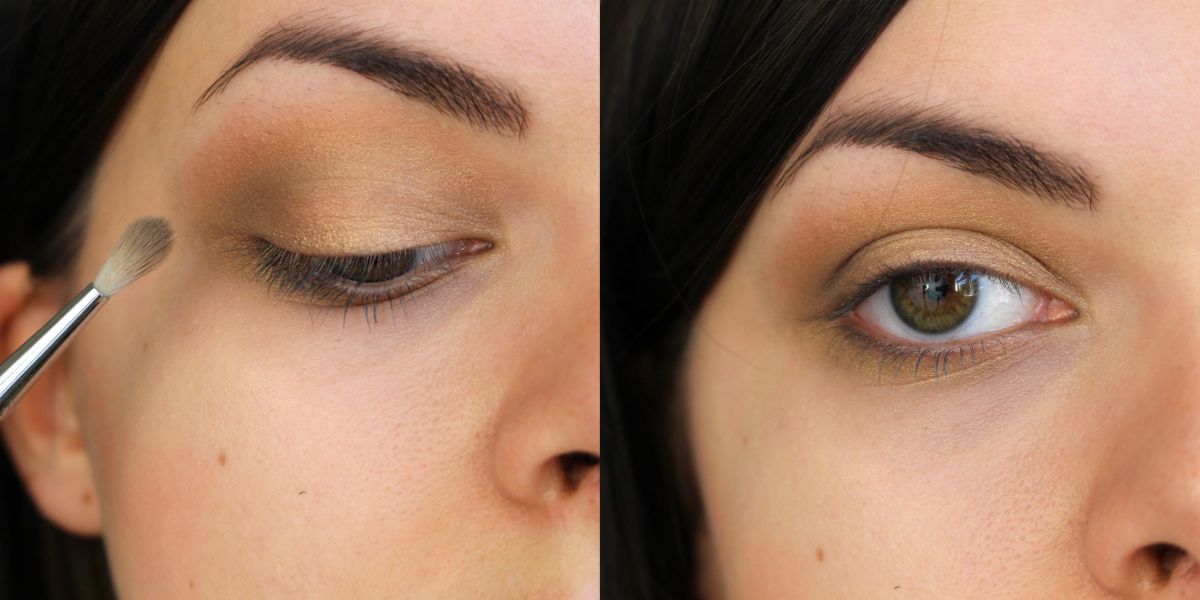
First, I’m going to pick up colour 2 on an flat shader brush, and apply it all over the moving part of my eyelid.
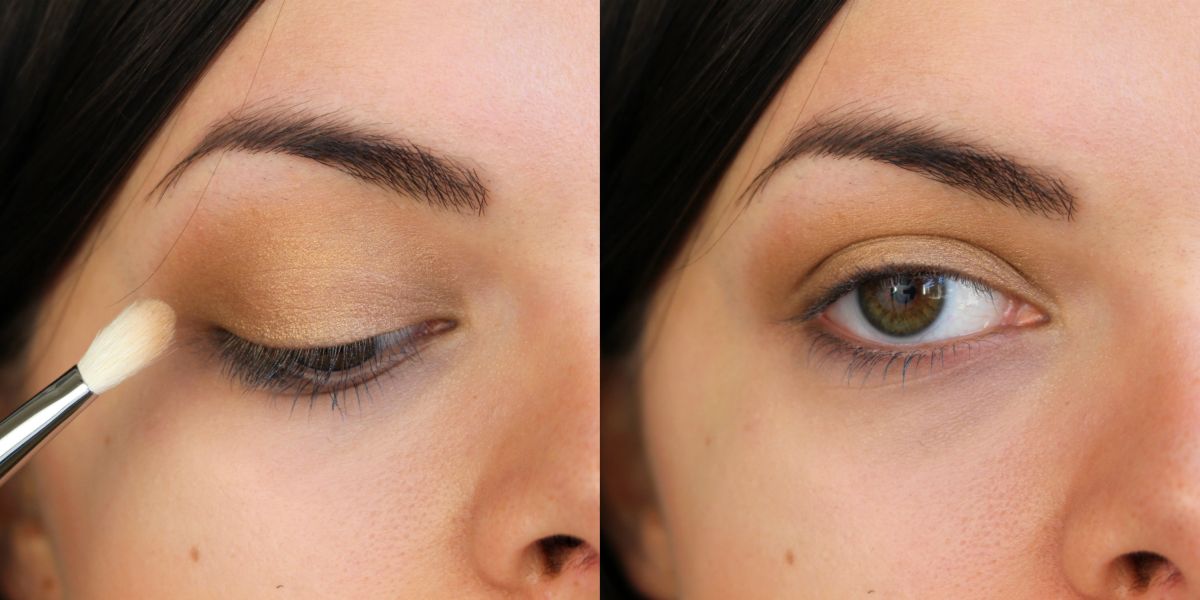
Then I’m going to take colour 3, the darker one, on a dense blending brush and apply it on the outer corner of my eye. I’m also dragging it in my crease, following the hollow beneath my browbone towards the inner corner of my eye.
With a smaller eyeshadow brush, I’m going to swoop some of colour 3 underneath my lower lashline as well, to balance out the look.
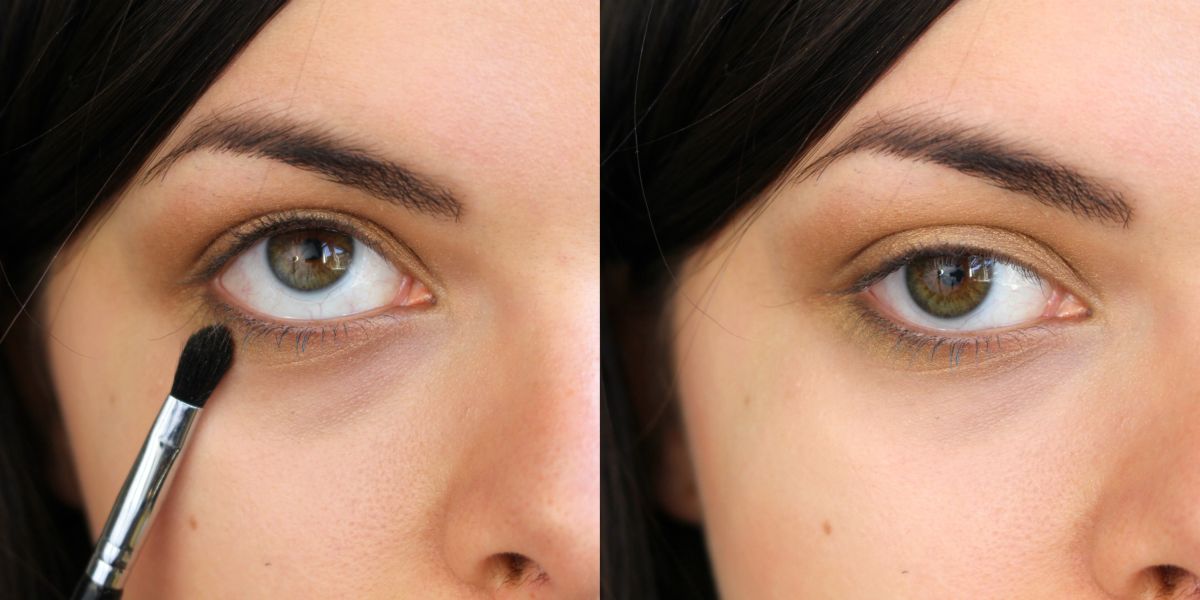
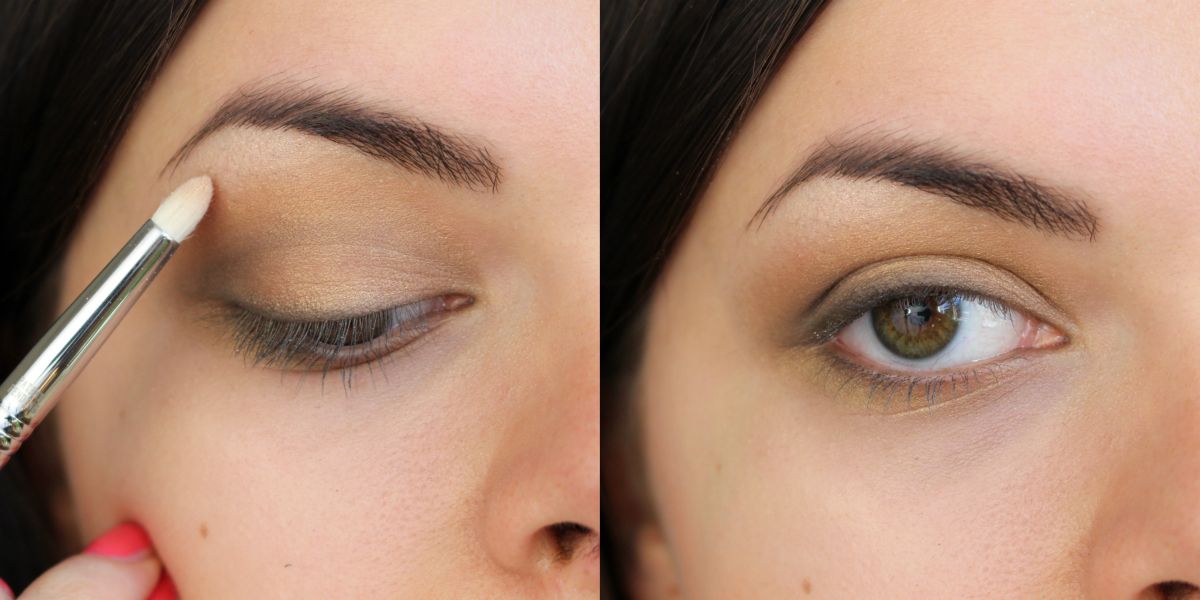
Now it’s time to dip a crease brush into colour 4, the darkest one. I’m going to apply this just on the outer part of my crease, to deepen the whole thing up a bit.

Then I’m going to take some of colour 4 on an angled liner brush and line my upper lashline with it. This gives a nice smoky effect. For a cleaner, more vivid line, wet your brush with a little water before dipping it into the eyeshadow.
Now we’re ready for the finishing touches: highlights! This is where colour 1 comes in. I’m going to take some onto my pencil brush and apply it on the outer part of my browbone, just underneath the arch of my eyebrow.
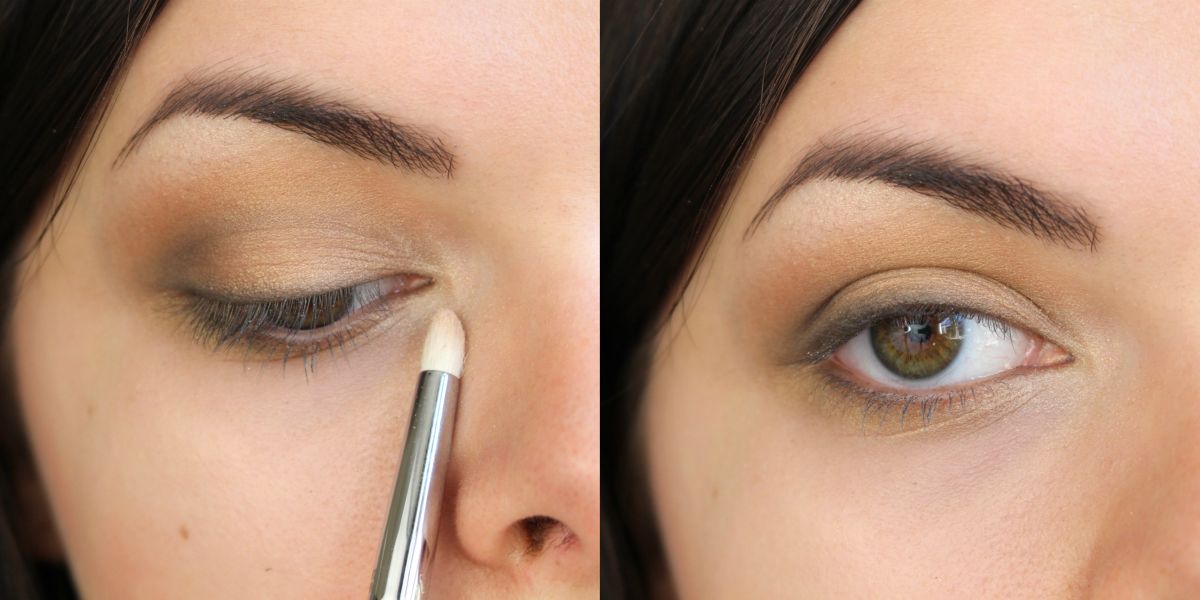
Then I’m also going to apply that on the inner corner of my eye, dragging it out on my lower lashline to about 1/3 in. This gives such a youthful openness and freshness to the eye, I love it!
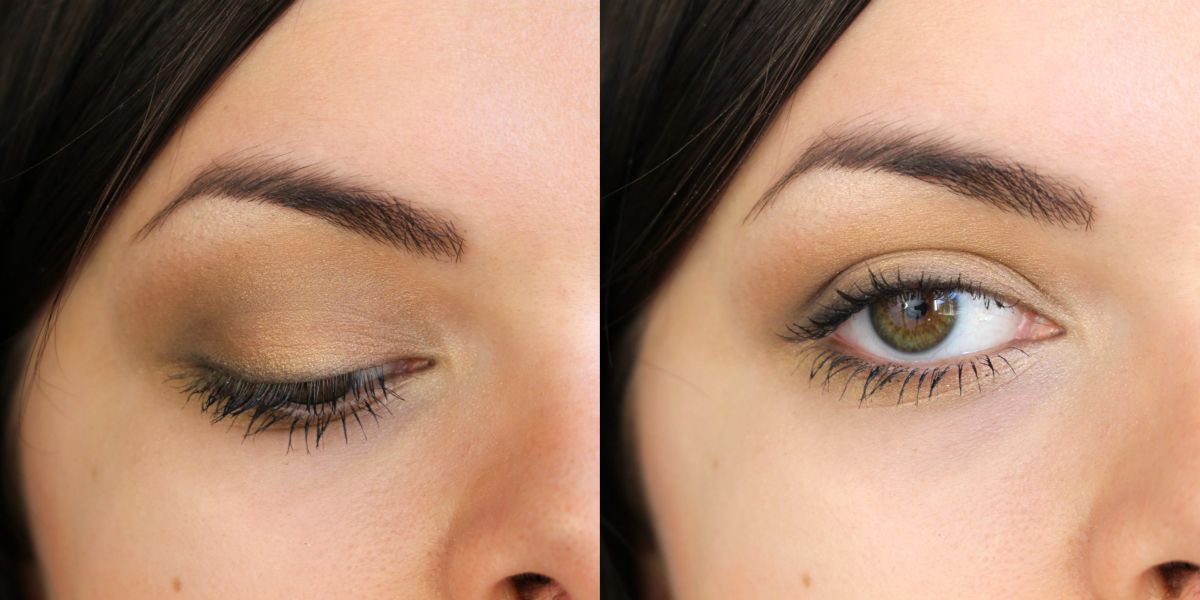
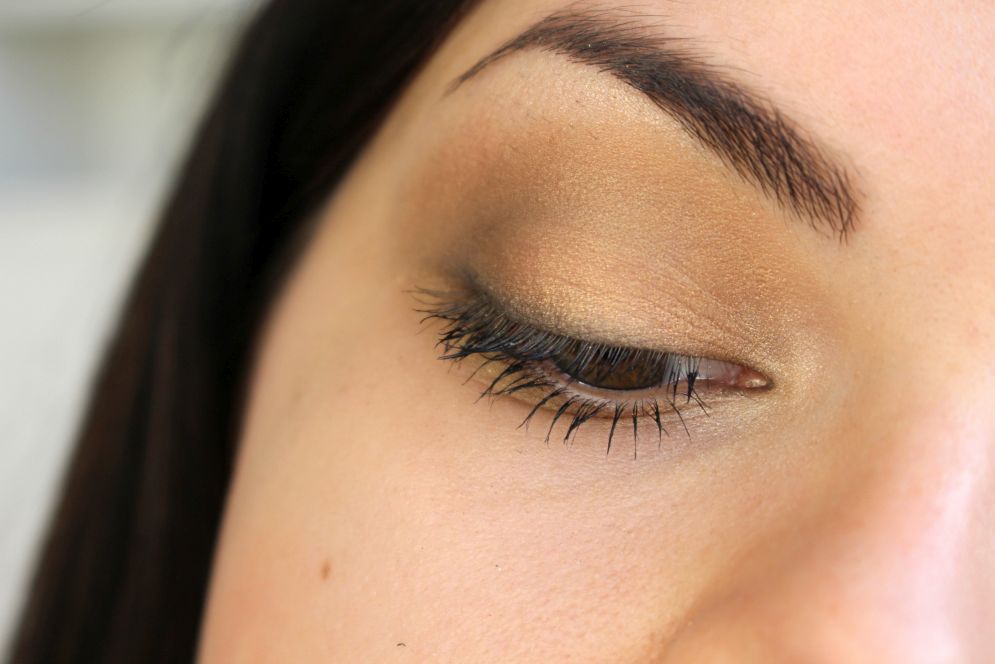
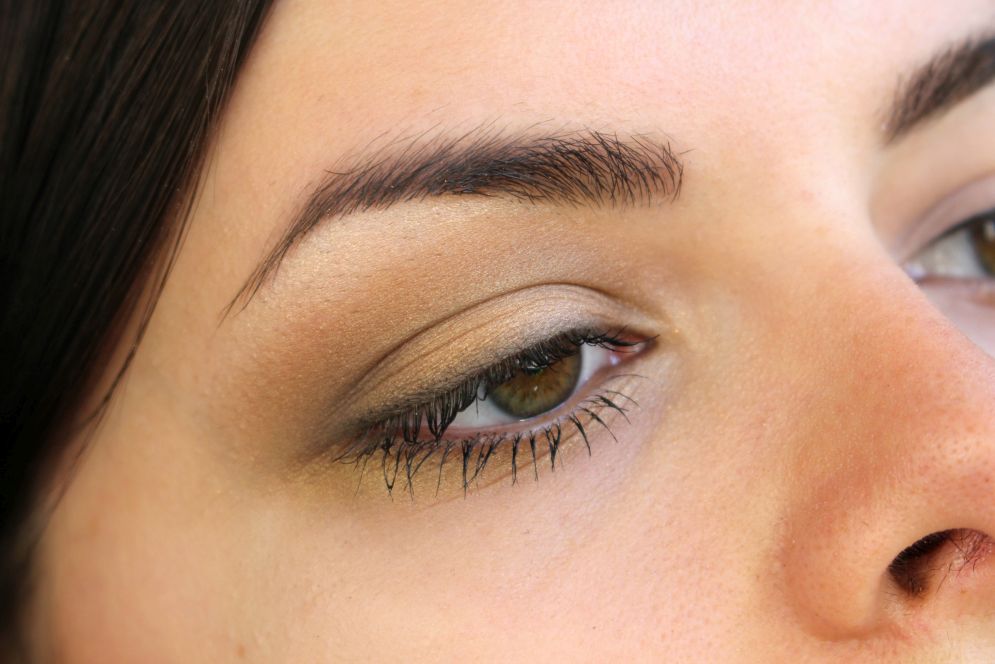
And this is the final result, finished off with some mascara.
That’s your basic makeup look! Like I said, this will work with any colour palette that you have, as long as you go from light to dark. Of course, you are absolutely free to experiment and I highly encourage you to do! This is just a little guideline for when you have no idea what to do :)
I’d like to finish off this post with a little visual recap:
I hope this was helpful, good luck with playing with your makeup!
I used my Sigma makeup brushes in this post. You don’t need as many as I used though, this look can be done with just one brush :)


thank you so much, this was really helpful :)
Thank you, Loepsie! This is very helpful.
Could you do a 101 for pencil/liquid eyeliner? I always struggle with it! (Love your new blog!)