
Dried flowers are among the loveliest, most delicate and romantic decorations you can place around your home. They’re just as beautiful and much more long lasting than their fresh counterparts, and I personally love that dried flowers have become so trendy lately. What I don’t love is the price tag that often comes with store-bought dried flowers.
Luckily, dried flowers are super easy to “make” at home. Or dry at home, more like. With the added bonus of having many more types of flowers to choose from and getting to arrange them yourself.
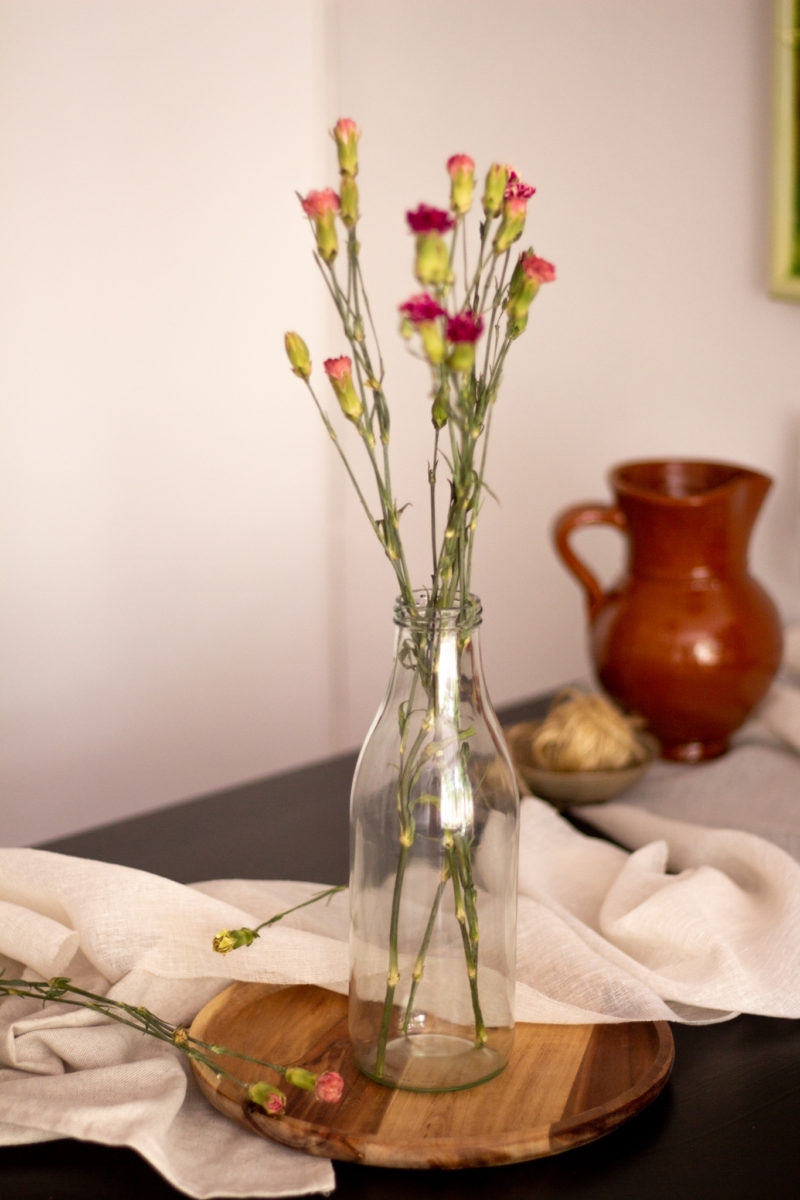
There are several different techniques you can use to dry flowers. They can be dried flat between two heavy objects such as books, dehydrated with sillica gel, or dried in the oven. My prefered method is air-drying; it’s the easiest, cheapest and least labour-intensive method, that also leaves the flowers three dimensional and intact.
Not all flowers are suitable for drying this way. For the best result, you’ll preferably want to use blooms that are on the smaller side, with sturdy and light petals.
I’m using carnations today, but other great flowers to use are baby’s breath, lavender, thistles, yarrow, bluemink, hydrangeas or strawflowers. Don’t be afraid to experiment to see what works! You could also ask your florist for advice on which flowers air-dry well, if you’re unsure.
When you’ve picked your flower of choice, you can get started almost straight away. One important thing is that the flowers need to be in the right stage of growth. You’ll want to start drying your flowers right as they’ve just begun to bloom. If you wait too long and the flowers have fully opened, the petals might drop during the drying process.
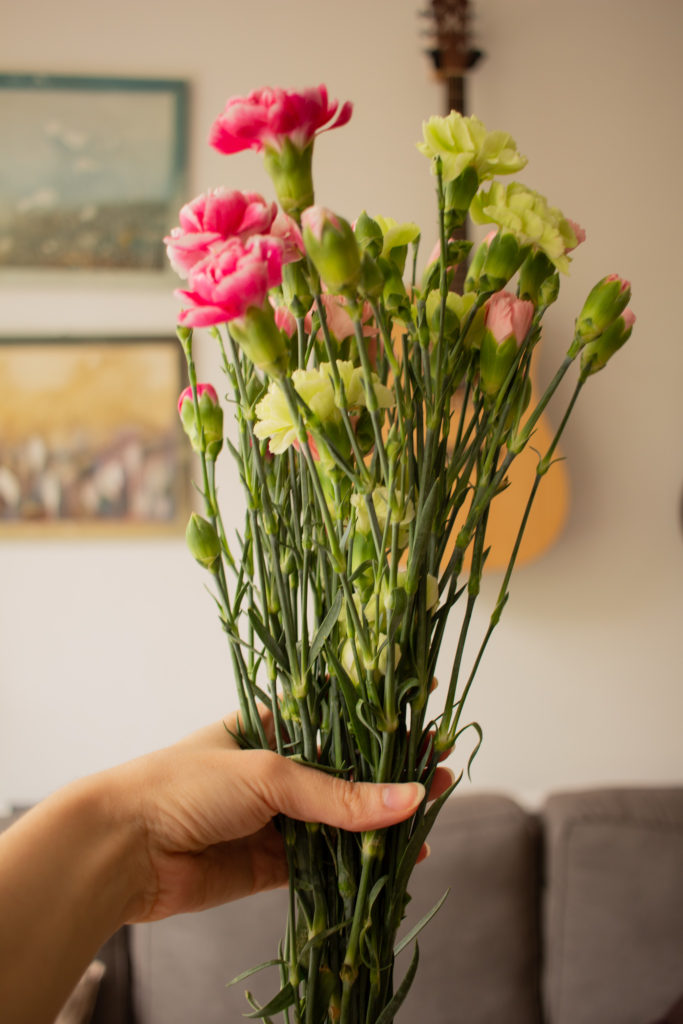
Time to get started! If your flowers have large foliage, cut it off first. Small foliage is fine, but keep in mind any greenery might not look great when it’s dried.
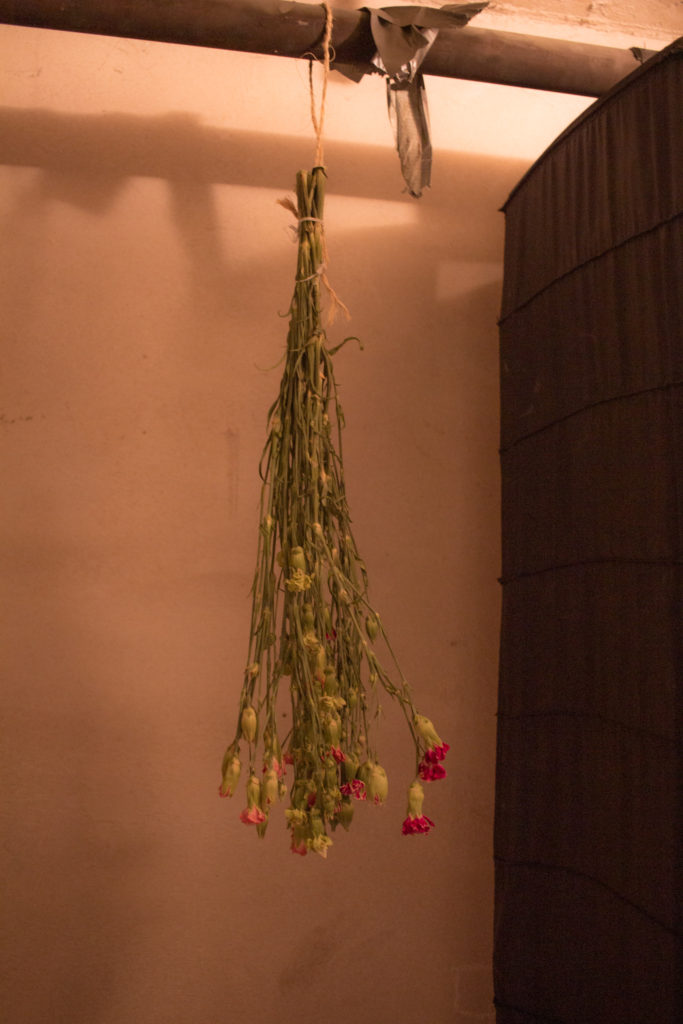
Tie your flowers together in a small bunch of about 10-12 stems. Preferably use an elastic for this, as the stems will shrink as they dry. If you’re using string, you’ll have to check the bundle every few days to make sure it’s still tied securely and tighten it if necessary. Don’t tighten your string or elastic too much right away, so as not to bruise the stems.
Hang your bunch upside down in a dark, dry, well-ventilated place. An attic, garage, or closet would work great for this. I hang mine in our storage box downstairs. Shielding the flowers from sunlight helps them keep their original colours. Drying in a light area will also work, but the colours of the flowers will fade.
Wait for 2-3 weeks until the flowers have dried completely. They will dry quicker in summer when temperatures are high, and might take a bit longer in cold or damp conditions.
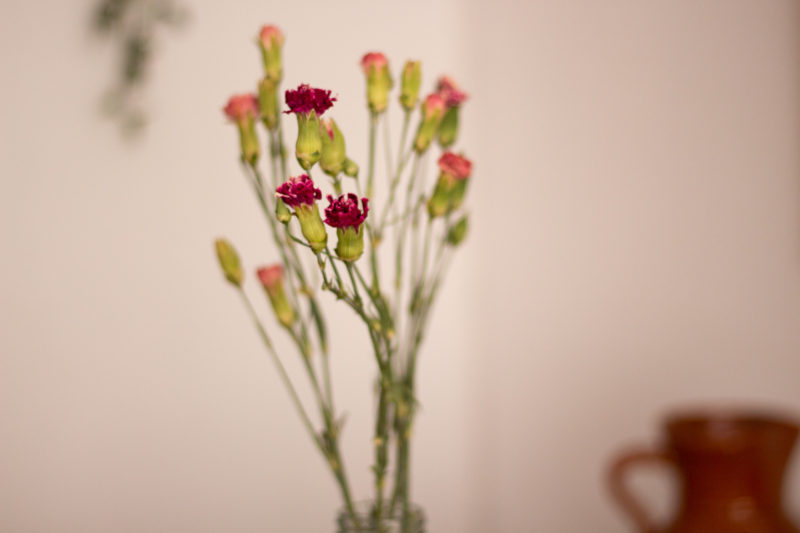
After the wait is over, your new dried flowers are ready to be arranged!
I’ve put together a little inspiration board on Pinterest, with different ideas of how to use dried flowers in your interior.
Happy drying!


