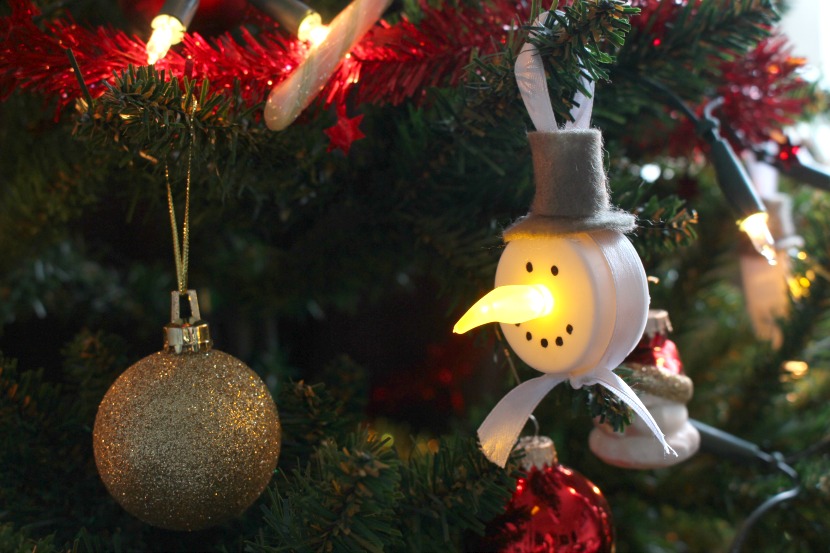
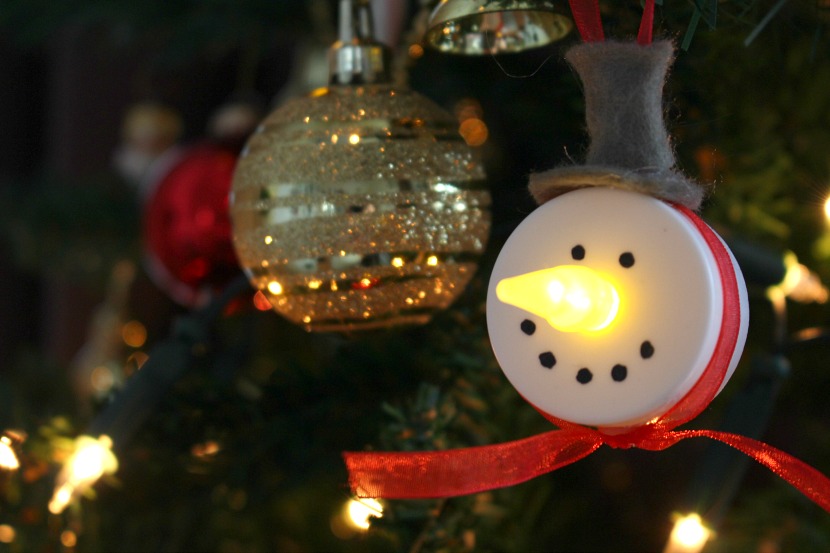
I can’t get enough of Christmas DIY’s. Pinterest is overflowing with cute ideas and I found these little fellows on there as well. Sadly, I couldn’t find the source (if anyone knows who’s orginal idea this is- please tell me! I’d love to credit them!) so I decided to do my own interpretation of it. Read on to see how to make these light-up snowman ornaments!


You will need:
Battery operated tea lights
Ribbon
Felt
Permanent marker
Scissors
Hot glue gun

I like to start by taking a good piece of ribbon and tying a knot in the ends. Then wrap it around the tea light and tie the top as well, so the tea light is jammed between two knots. The bottom will be a bow and the top will be a loop! Make sure to make your ribbon long enough so you get a big enough loop to hang the snowman in your tree.

Glue both knots to the tea light to make sure it doesn’t slip out.

Take a piece of dark felt and cut a circle, to be the base of your top hat.

Fold the circle in half and cut a slit into the middle. Thread the ribbon loop through the slit.

Cut out a strip of felt and glue the ends together to make the tall part of the top hat. Thread the ribbon loop through the hole of the felt cilinder. Then glue the cilinder to the base of the hat, and glue the whole hat to the tea light.

Take your permanent marker and draw faces of the snowmen. You can make a smiley mouth or use dots to look like coals!


And then the tea light snowmen are ready to brighten up your tree! This is a great DIY to do with kids that are a little bit older. Be careful when using the glue gun! You can use regular superglue as well. Enjoy your little light-up friends!


This is so imaginative and cute!